 PlugPress
Connect VS Code to WordPress
GitHub Copilot’s agent mode in VS Code can work on your WordPress site when you connect it through the Saddle plugin — reading and writing posts, pages, and media from Copilot Chat. The setup is one .vscode/mcp.json file that Saddle generates for you.
What do I need before connecting?
- A WordPress site with the Saddle plugin installed and activated.
- VS Code with GitHub Copilot and agent mode enabled.
How do I connect VS Code to my WordPress site?
Step 1: Open the connect wizard in Saddle
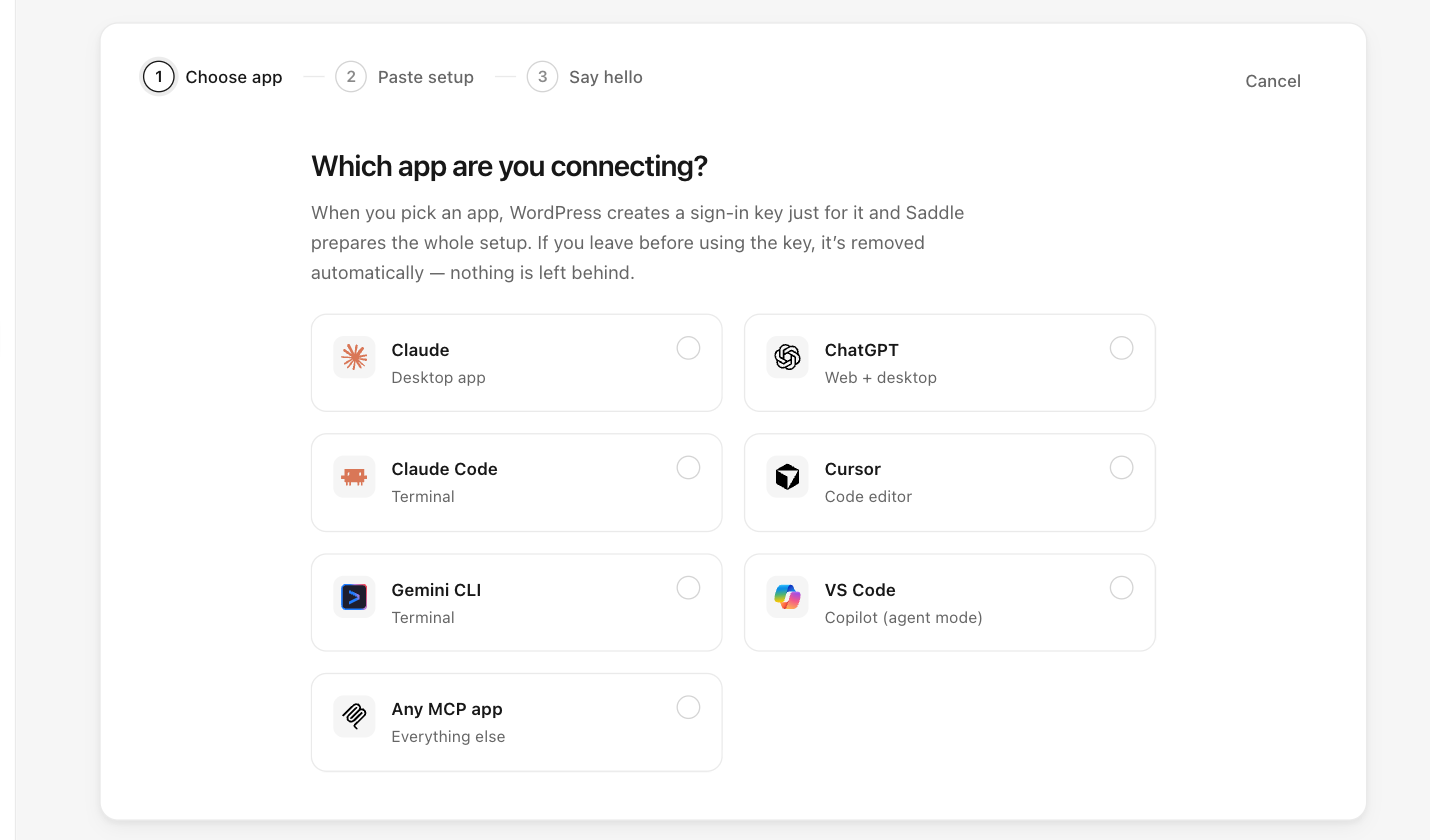
In your WordPress dashboard, go to Saddle → Connections, click Connect an app, and choose VS Code.
Step 2: Copy the generated config
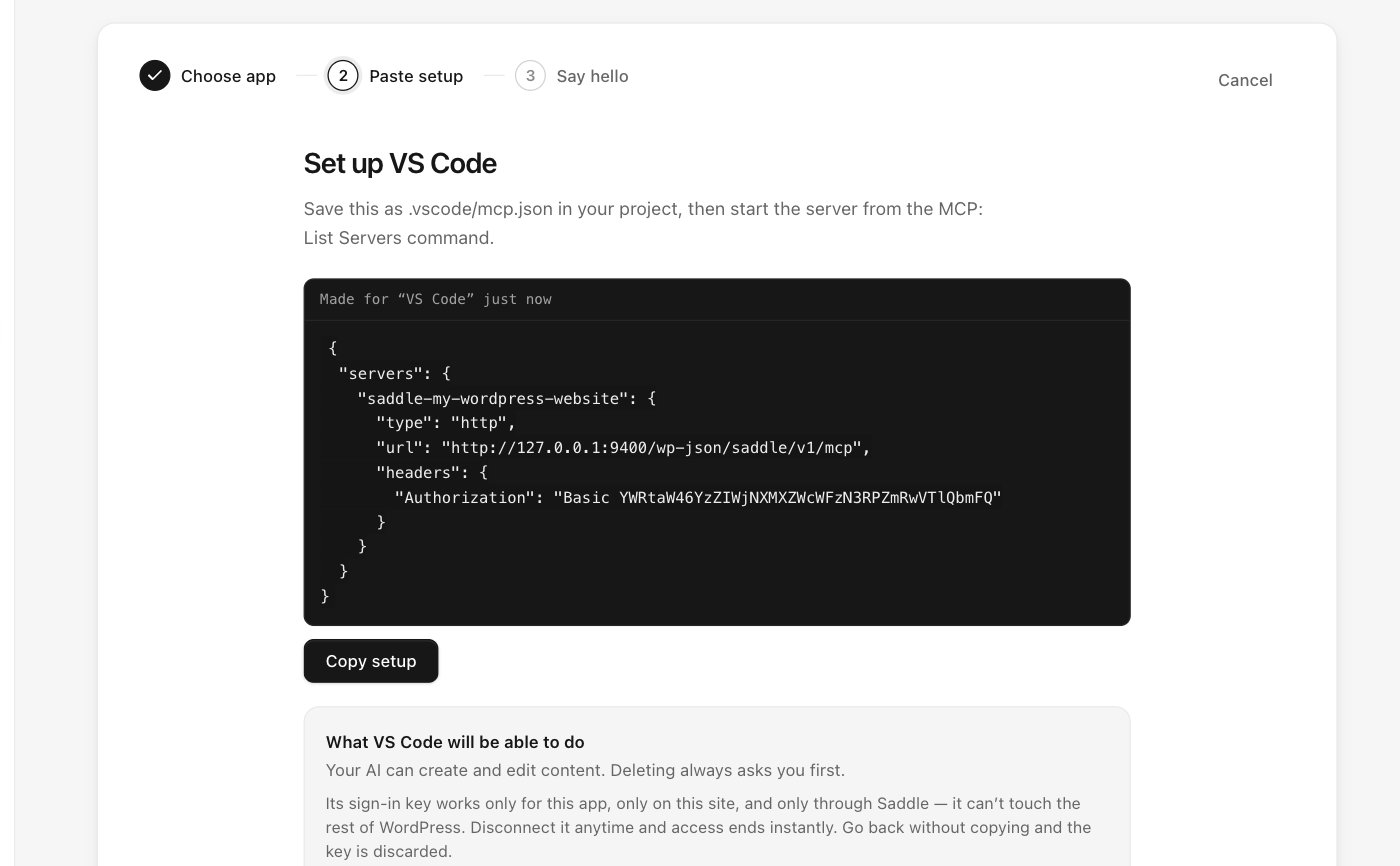
It looks like this (yours contains your real site address and key). Note VS Code uses servers, not mcpServers:
{
  "servers": {
    "saddle-your-site": {
      "type": "http",
      "url": "https://your-site.com/wp-json/saddle/v1/mcp",
      "headers": {
        "Authorization": "Basic PASTE-YOUR-KEY-HERE"
      }
    }
  }
}
Step 3: Save it and start the server
- Save the config as
.vscode/mcp.jsonin your project. - Open the Command Palette and run MCP: List Servers, then start the Saddle server.
How do I know the connection works?
Open Copilot Chat in agent mode and ask:
What can you see on my WordPress site?Copilot should report your site name, WordPress version, and content counts, and the app shows as connected in Saddle → Connections.
What can Copilot do on my WordPress site?
Only what you allow on the Permissions screen — sites start read-only, and deletions always require a preview-and-confirm approval.
Something not working?
See Troubleshooting and FAQ for the most common connection fixes, including hosts that strip the Authorization header.